HSM 2016 Challenge #1: Procrastination

Talk about procrastination! I started this dress the same time last year, after I finished a sloppy version of Sabine's short corset to wear under it. I got as far as attaching the front of the bodice to the skirt before feeling like it just wasn't working, and not having the prospect of any era-appropriate events in the near future, set it to one side. But then Regency Women's Dress came out, and I moved up to the Canadian border, and I was asked to speak about women's clothing at an event this winter, and I needed to finish this. Although it's turned out that I won't be able to do that event, I still needed to finish it!
 Sometime after moving, I found a wearable mockup long corset I'd made and never gotten around to copying and doing up properly. (NB: I still haven't!) it didn't/doesn't fit quite properly, but the important thing is that it creates the 1810s silhouette, lifting the bust above the natural level. Because of this, I was able to raise the waistline of the dress to the level you see in fashion plates and portraits, which looks impossibly high. There's of course nothing wrong with preferring the lower bustline pre-1810, but using it with a dress designed for the 1810s just doesn't look right.
In my original work sessions I scaled up and cut out the pieces and did most of the seaming - the bodice, the sleeves, the skirt - but left all the raw edges. The front bodice piece was topstitched over the sides, and the sides were sewn to the backs with piping (using a narrow string for the cord; too narrow, I think). I didn't do up the back seam of the skirt, but the others were sewn with running stitches.
 After picking it back up, I sewed up the back, hemmed the bottom of the skirt and sleeves, moved up the waist, and finished the neckline with piping - with a thicker cord, that Sugar 'n' Cream crochet cotton. At first I thought it'd be too thick, but after using it in the Hallowedding dress I knew it was exactly the right diameter. Then I put in large hooks on the right side of the back - one at the neckline and one at the waistline.
I saved the pintucks around the wrist for last, so I could just keep making them until the sleeves were the right length. Three seemed to do it.

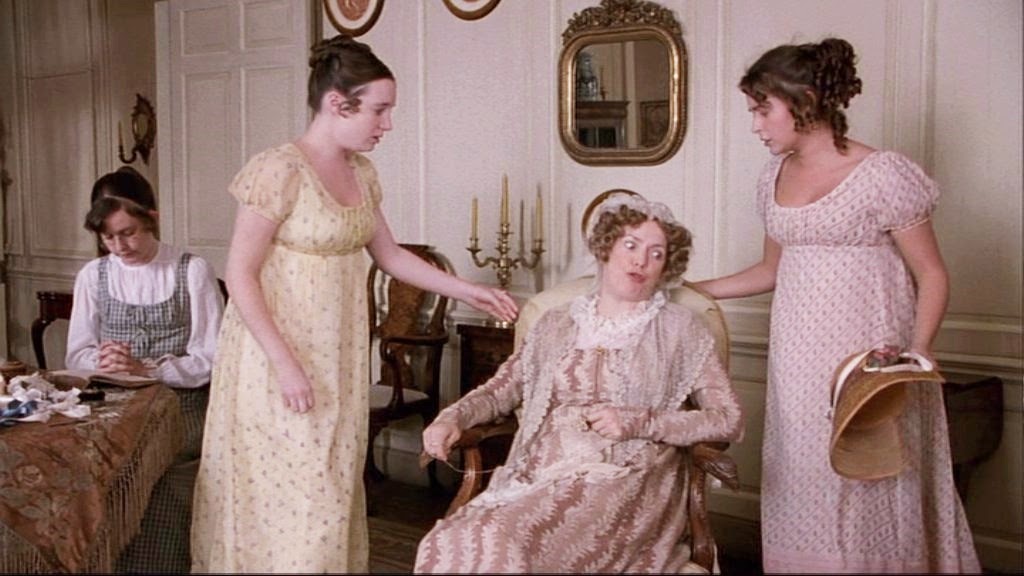
I held off on making thread bars for the hooks (I put in safety pins from the wrong side as temporary bars) because I wanted to make sure it was the right size. WELL. I guess it's a good thing I did, because the dress is too big across the back. It's pinned for the photo, and I clasped my hands like that to hold it in! Unfortunately, my epiphany in scaling up patterns to fit came months after I cut out these pieces, and because my Regency corset is such a pain to put on, I hadn't put the dress itself on in a long time, and even when I did while it was in progress, I didn't have the hooks on and was kind of estimating while pinning behind myself ... It's very tricky to do these things when you live on your own.
The Challenge: January - Procrastination
Material: Checked cotton twill from Fashion Fabrics Club; twine and crochet cotton for piping
Pattern: The morning dress on pp. 62-65 of Regency Women's Dress, scaled up and "fitted" by me
Year: Early 1810s - meant for a War of 1812 event, the Battle of Ogdensburg, (which I now will not be attending because it conflicts with a vacation I'm already committed to), but appropriate from 1809 through the middle of the decade
Notions: Two (2) largeish metal hooks
How historically accurate is it? Very! The pattern was taken directly from an extant dress and only modified for size (and to turn the lower scalloped edge into a normal hem), and the entire dress is hand-sewn. However, the fabric is slightly off in that cloth with this hand and texture would have been wool in-period rather than cotton
Hours to complete: Eesh, I don't know. Maybe 20? 25 considering the unpicking and redoing? And it's technically not done, since I need to cut the back down
First worn: Nowhere, yet
Total cost: Unknown, sorry! It's been too long, I've lost track


I recognize this dress from your book! Awesome job on the piping. It makes me want to pipe something.
ReplyDeleteIt's pretty fun. Much better for finishing curves than a hem!
DeleteI love to see dresses made up closely following original pieces. It looks like a very wearable dress (despite the unforseen challenge it has been to you)...some dresses really are challenging, but I do think it's great altering them and coming up with new ideas! The piping is lovely, especially around the collar.
ReplyDeleteSabine
Yes, once I've fixed it it should be a nice, comfortable piece! Thank you.
DeleteBeautiful details in the handsewing--very nice! Especially the piping--really impressed with your work!
ReplyDeleteThank you! I've become a big fan of piping, I think everything I make from now on is going to use it.
DeleteYou have worked nicely with your insights that makes our work easy. The information you have provided is really factual and significant for us. Keep sharing these types of articles, Thank you.Best Quality Dresses
ReplyDeleteI generally check this kind of article and I found your article which is related to my interest. Genuinely, it is good and instructive information about quality wedding dresses.Thanks for sharing an amazing article here.
ReplyDelete